How to use NV Connect Salesforce for Zoom
This page contains instructions on how to use the NV Connect Salesforce
Adding the NV Connect Salesforce
1. Log into your Zoom account on https://marketplace.zoom.us/.
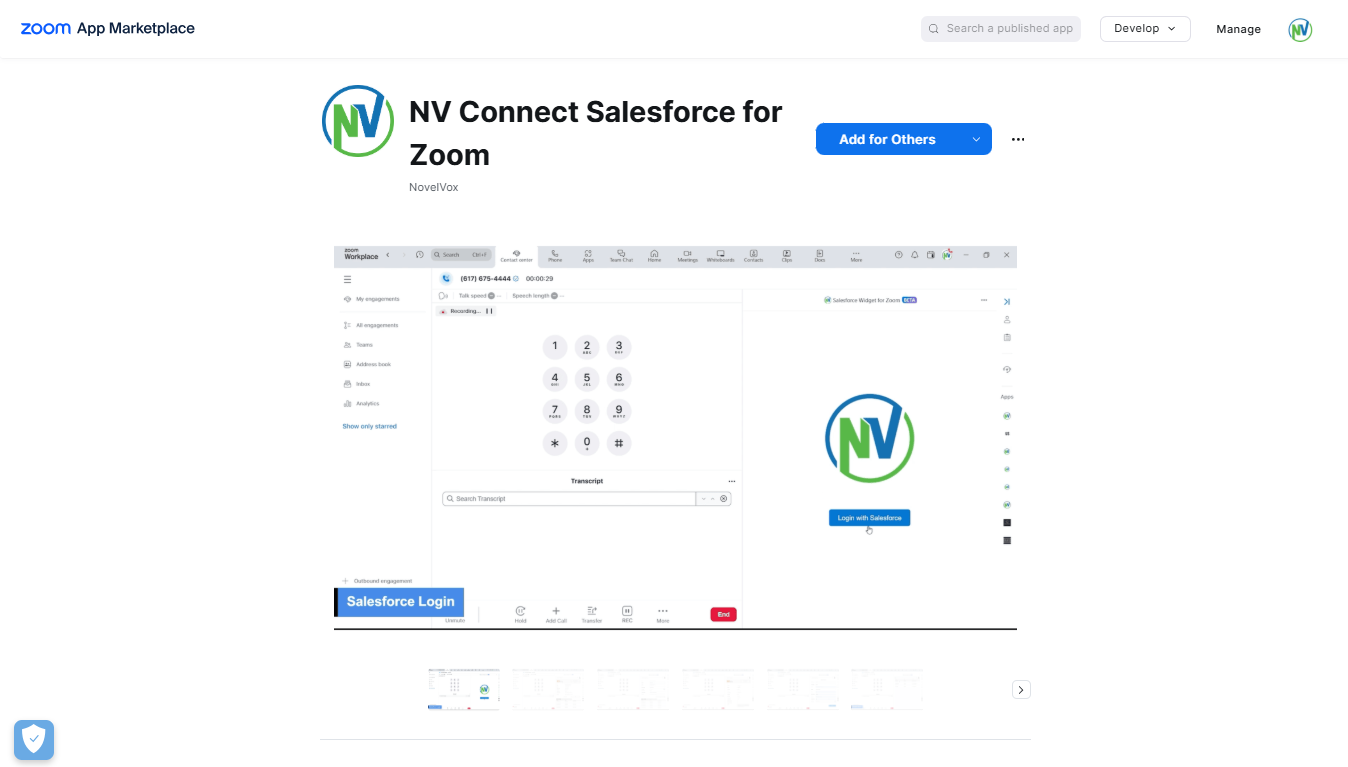
2. Search for the app
3. Now, add the app to your account.

4. Once done, add the app to desired queue(s) using below steps:
a. Log in to your account on https://zoom.us/.
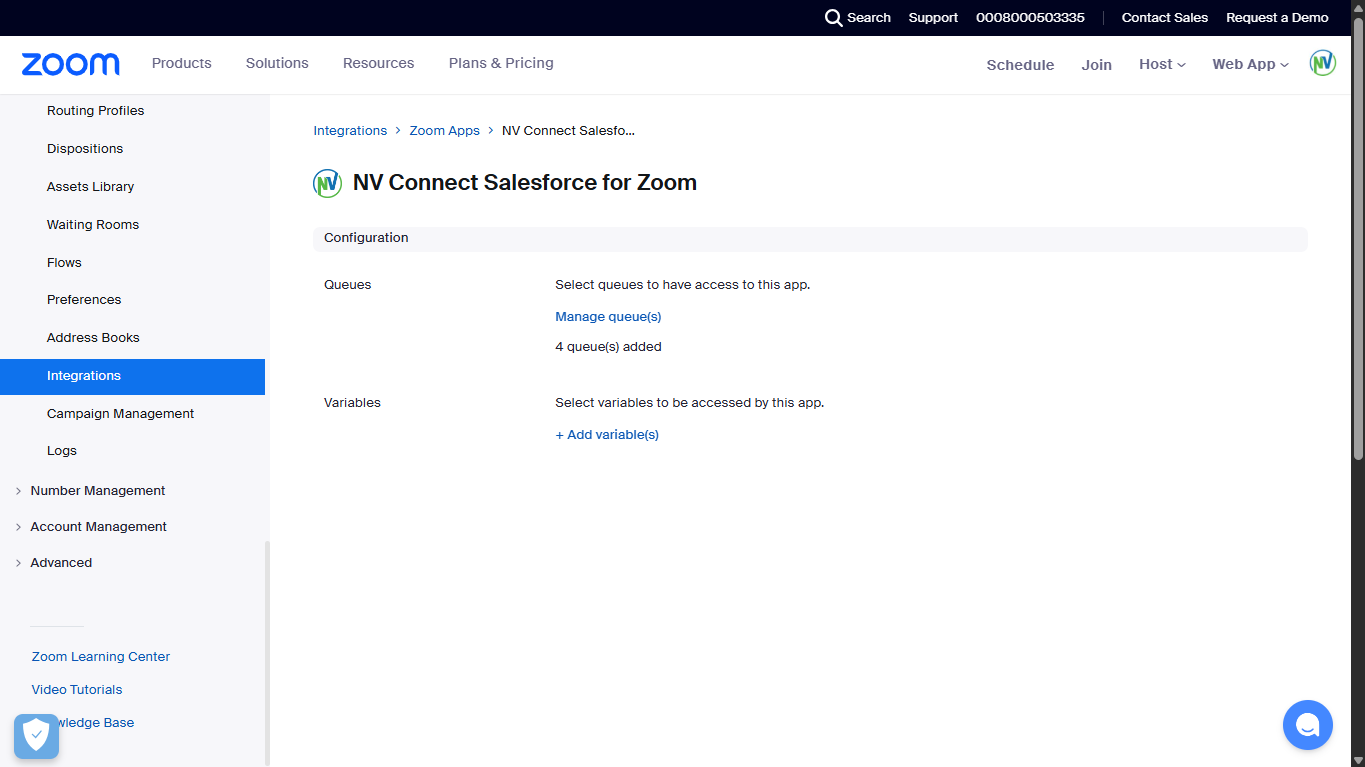
b. Once logged-in, navigate to Contact center management >> Integrations >> 3rd party apps
c. Go to NV Connect Salesforce
d. Enable the queue(s) that will be used.

You’ve successfully added the widget into your zoom account.
Using the NV Connect Salesforce
Once the configuration is done, the widget will be added to your Zoom account:

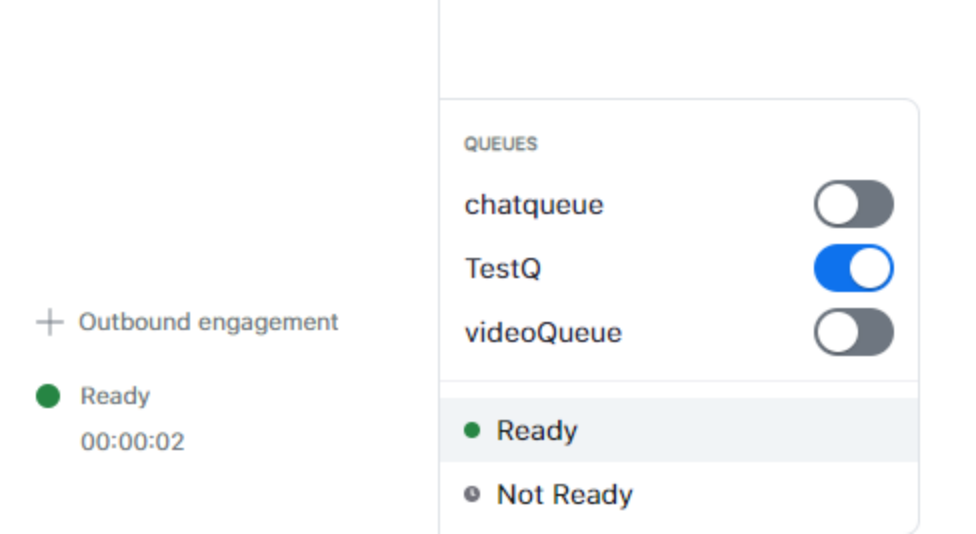
Once the widget is added, ensure the agent state is ready to receive interactions from the configured queue( see step 4 of above section).

While handling the live interaction, agents can open the NV Connect Salesforce from the right side panel to view the unified view of patient information.
Important Notes:
- • The application may undergo modifications depending upon its implementation.
Removing the NV Connect Salesforce
1. Login to your Zoom account and navigate to the Zoom Marketplace
2. Click Manage > Installed Apps or search for the NV Connect Salesforce
3. Click Remove next to the app
4. On the confirm dialogue that appears, click on Remove


